How to run a Tor relay node
TLDR: You can run a Tor node for free, effectively helping decentralize the Tor network. Don’t run Tor nodes in Germany or the Netherlands, as there’s a disproportionately large number of Tor nodes there.

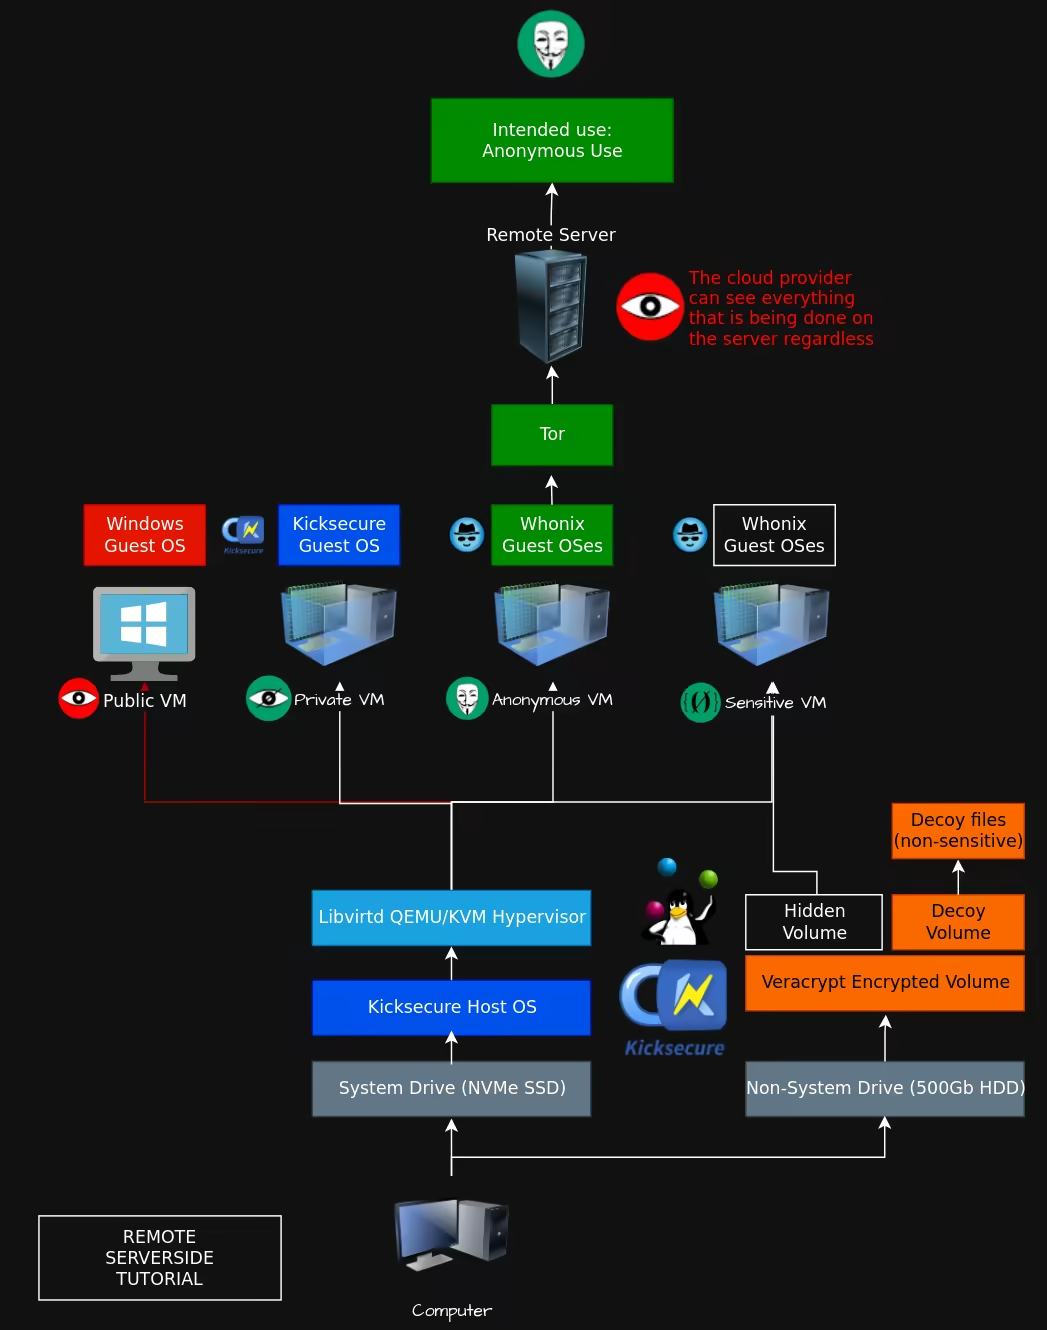
Before we start, you will need a Debian VPS (see this tutorial). If you prefer to use your own self-hosted server, make sure that at least one port is correctly forwarded so that incoming traffic to the public IP points reaches the server. Once that’s done, SSH into your Debian server.
You will also need to make sure that the VPS provider allows the hosting of a Tor node! Check the Tor Project’s good/bad ISPs page here.
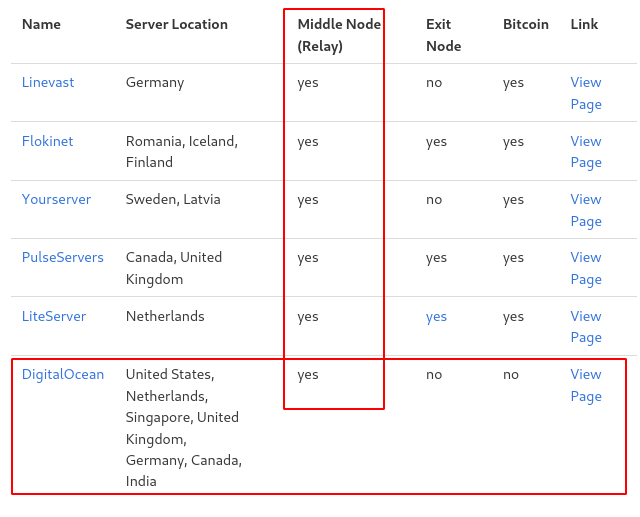
For example, you wouldn’t be able to host an exit node on DigitalOcean, while hosting a regular node is completely fine.
Regarding the choice of location for the server, to keep the Tor network decentralized, make sure that you choose a country that doesn’t have many Tor nodes (see the bubbles graph):

Disclaimer: Do not host your Tor node in Germany, the Netherlands or the USA, as there are already too many nodes in those countries. Try to run your own Tor node in countries that have the fewest nodes, as this will help keep the Tor network decentralized.
Choosing the kind of node
There are four kinds of nodes to run for the Tor network:
- Middle nodes
- Guard nodes
- Exit nodes
- Bridges
Middle nodes are the most common kind of node on the Tor network. They aren’t special, but they contribute to the core of the onion routing process. Stable middle nodes are also made available to be used as guard nodes.
Guard nodes are the entry nodes in the network. They are normal middle nodes that have been “vetted” as stable enough to be used as guards. If you do a good job maintaining your node, it will likely become a guard node. This is normal. There usually is no practical benefit to running a middle-only node.
Exit nodes are nodes that can talk to the general Internet on behalf of the users. See Tor Exit Node for a setup guide.
Bridges are guard nodes that are hidden from the standard list of nodes and are used by users in censored countries. There is a high need for bridges, as they are sometimes found by censors. If you can run one, please do! See this tutorial for setup steps.
See the official docs for more details.
Installation
Log in to your Debian server and add the Tor repository. This will allow you to update your tor daemon to the latest version just after it is released. It’s not recommended to use the tor package from the Debian repository since it’s usually out of date. To do that, check the steps on the Tor Project’s website.
To configure tor, we need to edit the configuration file. The default file has almost all of the options commented out (after a # symbol).
This can be overwhelming, but we only care about a few options to get a working node. You can remove the # from the beginning of the line that contains the option and change the value.
root@Datura:~# vim /etc/tor/torrc

# Replace "9001" with a Tor port of your choice if you want. This can be any port.
# This port must be externally reachable. Make sure no firewalls prevent access, and also set up port forwarding if necessary.
ORPort 9001

# Replace the value with your email address so the Tor Project can contact you if there are problems with your relay.
# Note that this address is public. You should use a real email address you regularly check, but you can obfuscate it to make it harder for spam to find you.
# This is optional, but highly encouraged (mandatory if you run multiple nodes).
ContactInfo your [DOT] name (CIRCLED A) domain PERIOD xyz

# Pick a nickname that you like for your relay. This is optional, but recommended. It MUST be between 1 and 19 alphanumeric (letters and numbers only) characters (inclusive).
Nickname Nick
Then restart the tor service and enable it:
# Restart the service
systemctl restart tor@default

# Enable at boot
systemctl enable --now tor@default
You can monitor it with Nyx:
root@Datura:~# apt install nyx
root@Datura:~# nyx
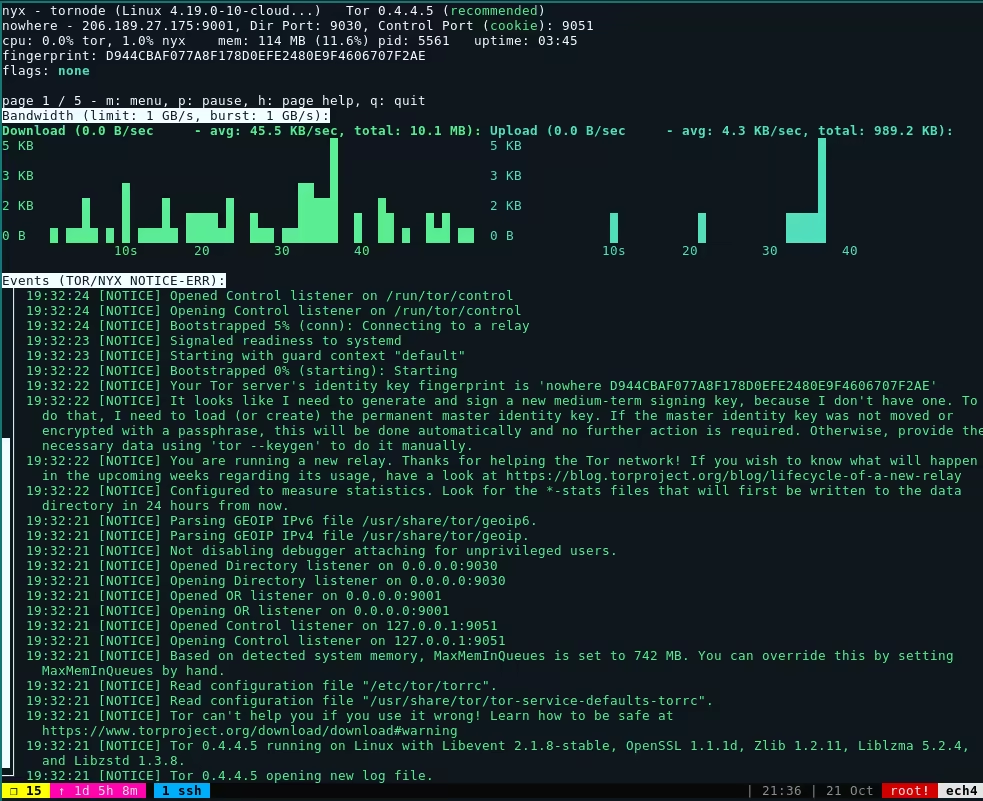
You can also monitor connections by switching to the menu (pressing m)

Then just use the arrow keys to navigate:

Hit spacebar to choose “connection”:
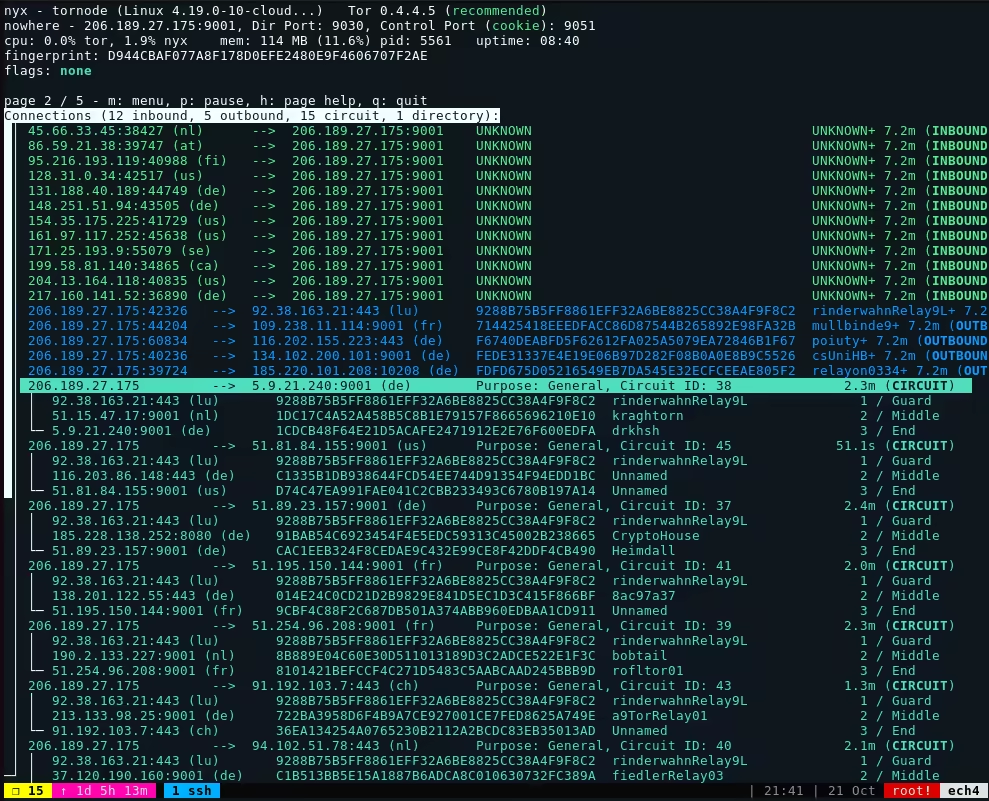
This is going to list the active connections (circuits) to your Tor node with their IP addresses.
Post-install
After a few hours, your relay should appear on Relay Search.
Running a successful relay is not a set-and-forget endeavour, though. You have to maintain it. Doing regular updates is of utmost importance. You can either set up unattended upgrades or update manually (sudo apt update && sudo apt upgrade -y).
 Suggest changes
 Jake Samre
 2026-10-01
 Donate XMR to the author:
83omoTev9gKeN6qT9vY3fB7x315ZpRw3gMLqQB8Xck2e1cc3VY6mNPJ6cNGZvghggAAXABMn5w2J4NDdHYXmofW1RkdKbna